


Moving can be stressful, especially when it comes to safely transporting your valuable gaming equipment. Whether you’re an avid PC gamer, a console enthusiast, or a dedicated streamer, ensuring your gear arrives in perfect condition is a top priority. This guide will cover the best practices for packing and transporting your gaming equipment securely.
- Organize and Prepare Your Equipment
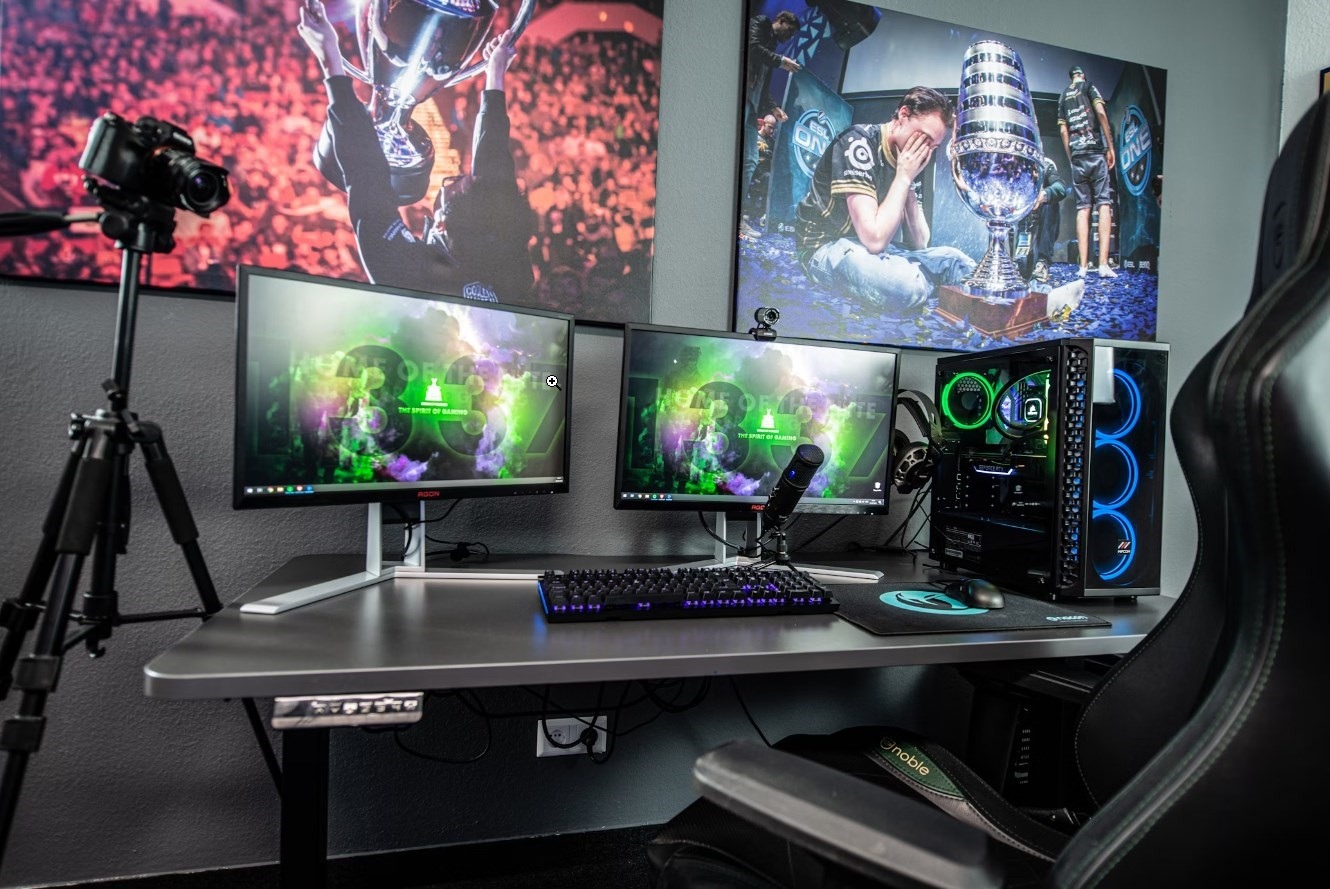
Before you start packing, take inventory of all your gaming gear. This includes your gaming PC or console, monitors, controllers, headsets, keyboards, mice, VR equipment, and any other accessories. Make a checklist to ensure nothing is left behind.
Next, take photos of your setup, especially cable configurations, to make reassembly easier in your new location. If possible, back up any essential files or game saves to an external drive or cloud storage for added security.
- Gather Packing Materials
To protect your equipment during transit, gather the following materials:
- Sturdy boxes – Ideally, use the original packaging, but if unavailable, choose durable, appropriately sized boxes.
- Bubble wrap and foam padding – Essential for preventing damage from shocks and impacts.
- Anti-static bags – Necessary for sensitive components like graphics cards, motherboards, and hard drives.
- Cable ties and zip-lock bags – Help keep cables organized and prevent tangling.
- Packing tape and labels – Secure boxes properly and label them for easy identification.
- Packing Your Gaming Equipment
Gaming PC
- Disconnect all cables and place them in labeled zip-lock bags.
- Remove the graphics card, hard drives, and RAM (if possible) and pack them separately in anti-static bags with protective padding.
- Secure internal components by placing foam or crumpled packing paper inside the case to prevent movement.
- Wrap the entire case in bubble wrap and place it inside a sturdy box with extra padding.
Gaming Consoles
- Remove discs and unplug all cables before wrapping the console in bubble wrap.
- Use the original packaging if available, or place the console in a well-padded box.
- Store controllers and accessories in separate bags to prevent damage.
Monitors and TVs
- Use the original box and foam inserts if possible.
- If not available, wrap the screen in a soft cloth before covering it with bubble wrap.
- Place the monitor in a box with firm padding to prevent movement during transit.
- Choosing the Right Transportation Method
For short moves, you might transport your gaming gear in your personal vehicle to minimize risk. However, for longer distances or international moves, consider professional services that specialize in fragile and high-value items. Platforms like www.shiply.com connect you with reliable transport providers, ensuring your gaming equipment arrives safely.
- Setting Up at Your New Location
Once you arrive, carefully unpack and check for any signs of damage. Reassemble your setup using your photos and checklist as a guide. Take your time organizing cables to maintain a clean and efficient workspace.
Final Thoughts
Moving your gaming equipment requires careful planning and proper packing to ensure everything arrives in top condition. By following these steps and considering professional transport services, you can enjoy a stress-free move and get back to gaming without a hitch.


