A fresh coat of paint can quickly refresh any space, inside or out. It makes walls look new and adds life to a room.
But the final result depends on how well you prepare the surface. Rushing into painting without prep can lead to peeling, uneven texture, or a short-lived finish.
Proper prep makes paint stick better and last longer. It also makes your home look cleaner and more polished.
Use these tips to get your home ready for a fresh coat of paint and avoid common mistakes that cost time and money.
1. Clear the Area
Before anything else, remove furniture, wall hangings, and other items from the room. If you’re working outside, move plants, hoses, or any decor near the surface. Cover floors with drop cloths or plastic sheets to avoid drips.
Keep the space clean and clutter-free. This helps avoid accidents and gives you room to move around. Don’t forget to protect outlets and switches with painter’s tape.
Light fixtures can also be covered or removed. Take off any hardware that might get in the way. The goal is to expose every part of the surface you’re painting. A clean workspace leads to a cleaner paint job.
2. Wash the Walls
Dirt and grime can keep paint from sticking. Use mild soap and water to scrub down walls, especially in kitchens and bathrooms. A sponge or rag works well for this job. Rinse the surface thoroughly and let it dry.
For exterior surfaces, use a pressure washer if needed. Don’t forget about grease or stains-these need extra attention. Paint sticks better on clean surfaces.
Skipping this step can lead to peeling later on. Washing walls may seem basic, but it’s one of the most important prep steps. Clean walls give the new paint a smooth foundation.
3. Repair Any Damage
Small cracks or holes need to be patched before painting. Use spackle or filler to cover dents or nail holes. Let it dry completely before sanding it smooth. Larger damage may require more advanced patching or replacement.
Look for any areas where the drywall is weak or crumbling. If you’re painting outside, check for rot or wood damage. Fixing these now prevents problems later.
Cracks around windows or doors can also be filled with caulk. Always smooth out any filler so the paint goes on evenly. The more seamless the surface, the better the finish will look.
4. Sand for a Smooth Finish
Sanding evens out rough spots and removes old paint flakes. It also helps new paint stick better. Use fine-grit sandpaper for indoor walls. For wood or trim, use a sanding block to stay even.
Always wipe down surfaces afterward to remove dust. Skipping this step can lead to patchy coverage. Sanding also helps to smooth over repaired areas.
If you’re painting over glossy paint, sanding helps dull the surface. That makes it easier for the new coat to grip. Take your time to sand properly-it makes a big difference.
5. Tape Off Trim and Fixtures
Painter’s tape helps create clean lines and protects edges. Apply it along trim, ceilings, door frames, and any surface you don’t want to paint.
Press the tape down firmly to stop paint from bleeding underneath. It’s also helpful around outlets and baseboards. Remove the tape after the paint dries slightly, not fully, to avoid peeling.
Don’t reuse tape from old projects. Start fresh with every job. Taping takes time but saves cleanup later. The sharper your lines, the more professional the paint job will look. This step is essential for a neat finish.
6. Prime Where Needed
Primer creates a uniform surface and helps paint stick. It’s especially useful when painting over dark colors or patched areas. It also seals porous surfaces like drywall or bare wood. Use a roller or brush to apply it evenly.
Let it dry fully before adding paint. If the surface has stains or smoke marks, primer blocks them from showing through. It can also reduce the number of paint coats you need.
A painting contractor often starts with a high-quality primer to get lasting results. If you skip this step, expect uneven color or fading later on. Priming gives your paint the best base to work from.
7. Choose the Right Paint for the Space
Different areas need different types of paint. High-moisture areas like bathrooms do better with mold-resistant paint. For kitchens, washable paint is best.
Matte finishes work well for ceilings, while satin or semi-gloss finishes are great for walls. Exterior paint needs to withstand weather changes. Look at the finish and durability before buying.
Light colors can brighten a space, while dark shades add depth. Don’t just pick based on color-consider function too. Picking the right paint helps it last longer. The better the match, the better the performance.
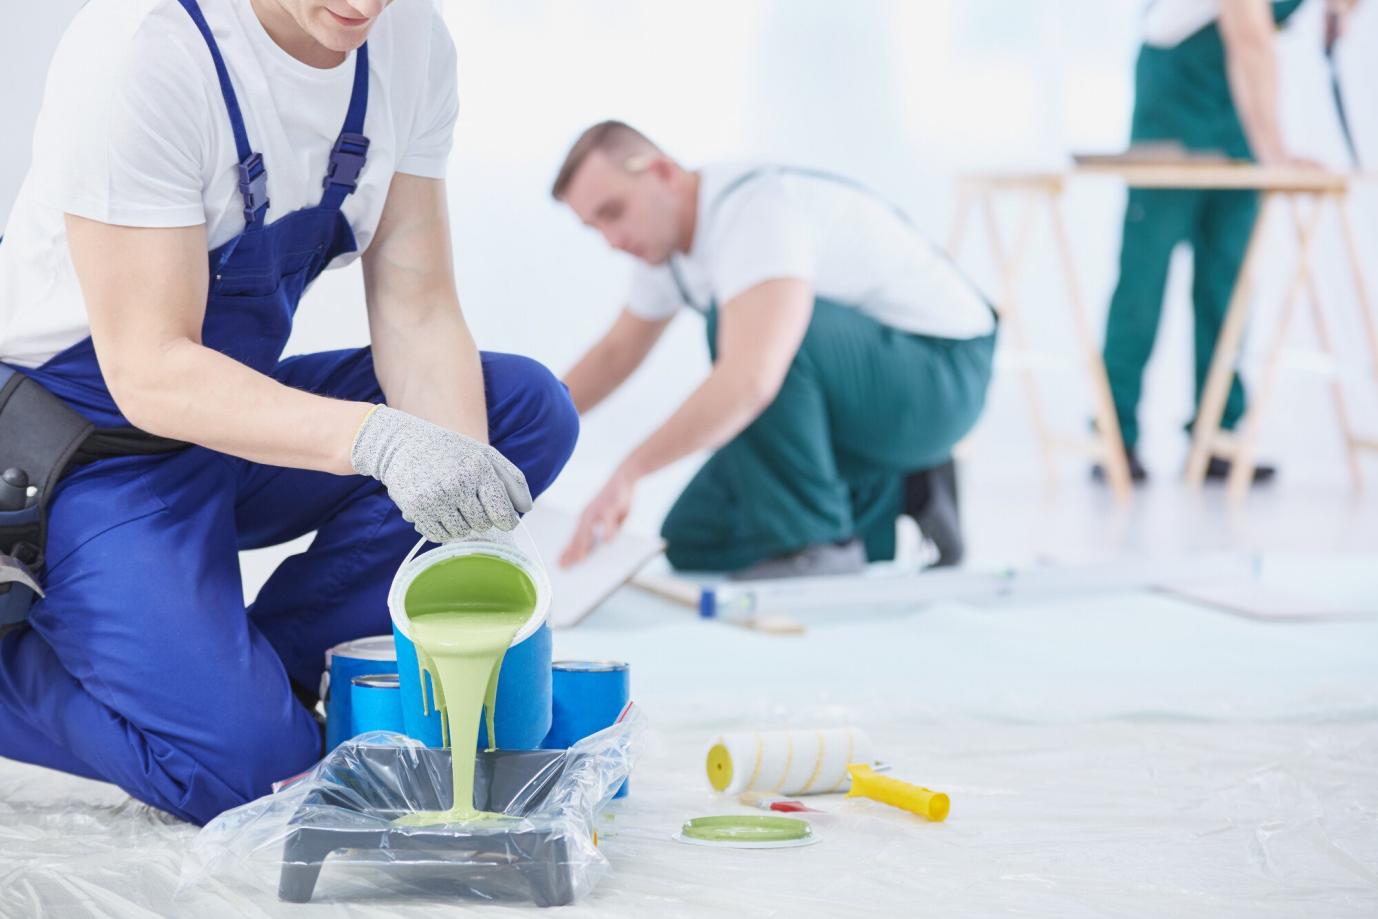
8. Stir and Store Paint Properly
Always stir your paint before using it. Pigments settle at the bottom, so mixing is key. Use a stir stick or drill mixer for best results. If you’re not painting everything in one go, seal the lid tightly after each use.
Store paint in a cool, dry place. Avoid extreme temperatures, which can ruin the consistency. Label cans with the room or surface they’re used for. This makes touch-ups easier later.
Never pour paint down the drain-dispose of it responsibly. Good paint care keeps your tools and finish looking sharp. Simple habits make the job easier in the long run.
9. Check the Weather Before Painting Outside
Outdoor painting needs dry conditions. Rain or high humidity can mess with drying times. Wind can blow dirt onto wet paint. Mild temperatures are ideal for a smooth finish.
Check the weather forecast a few days ahead. Avoid painting in direct sunlight if possible. Early morning or late afternoon works better. Cold weather can cause paint to dry unevenly.
Plan your schedule around the weather window. A little timing can save you from a lot of problems later.
Discover Tips for Preparing Your Home for a Fresh Coat of Paint
Good prep leads to a cleaner and more professional paint job. It prevents paint from bubbling, cracking, or wearing off too soon. Each step, from cleaning to priming, plays a key role.
Skipping even one can ruin the final look. Take time to do it right, and your walls will thank you. Whether you’re painting one room or your whole house, preparation makes all the difference.
Follow these steps to get a smoother result that lasts.
For more topics, visit our blog. We do have more!

Dilawar Mughal is an accomplished author with a passion for storytelling. His works span various genres, from thrilling mysteries to heartfelt romance novels. With a keen eye for detail and a knack for character development, Sana Fatima weaves engaging narratives that captivate readers and transport them to new worlds.