


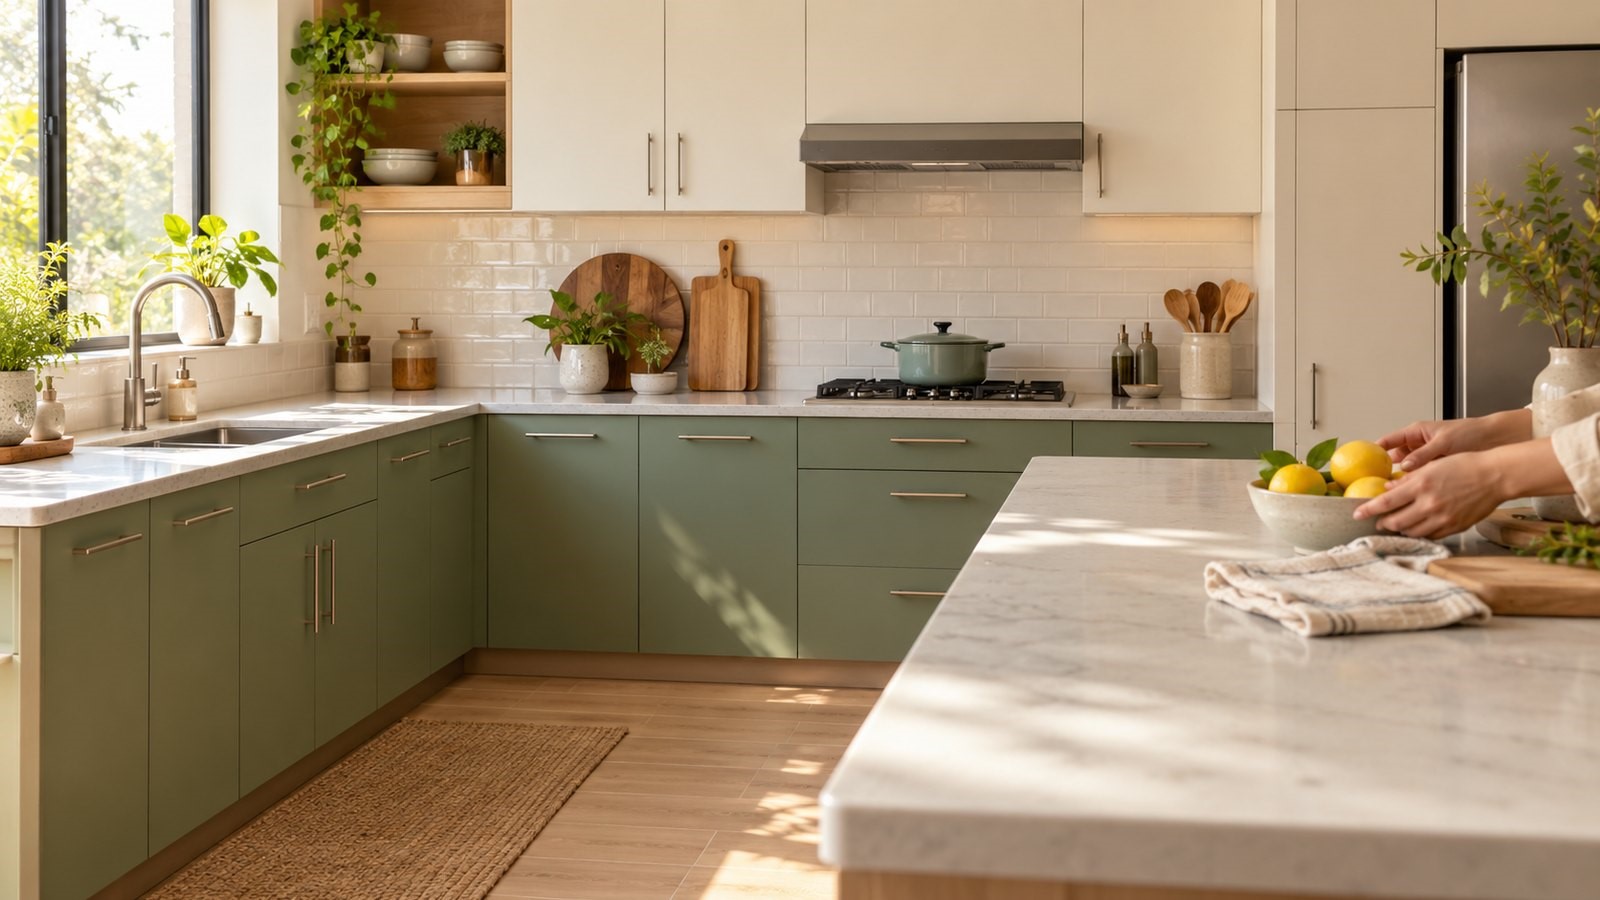
A modular kitchen is a significant investment, and colour is often the last thing planned. Cabinets are ordered in one shade, the floor is finalised in another, and the countertop is chosen from a different brief. The result is a space where each surface competes with the next. Well-planned modular kitchen colour combinations prevent this by treating every finish as part of a single scheme, with paint as the final layer that unites them.
Paint is also the most flexible of these elements, and the easiest to correct. So, keep reading this blog to learn how to match cabinet shades and wall paint with your flooring, tiles and countertops.
Step 1: Start With the Flooring Undertone
Flooring is the hardest surface to change, so treat it as your fixed point. Read its undertone rather than its name, because two greys can pull in opposite directions.
Follow these steps before you buy any paint:
- Hold a white sheet of paper against the floor in daylight to see whether it reads warm, cool or neutral.
- Note the depth, since dark floors absorb light and pale floors reflect it.
- Pick out any veining or flecks, as these colours can be repeated in the cabinets.
- Check the grout colour, because it changes how the whole floor reads.
Step 2: Choose the Cabinet Shade
Cabinets cover the largest area after the walls, so their shade sets the tone for everything else. Match the floor’s undertone and the room will feel settled. Opposite undertones can work too, but only when the rest of the palette stays neutral.
This table shows reliable pairings for common floor types:
| Floor type | Cabinet shade | Wall paint |
| Warm beige or wood-look | Sage green or cream | Warm white |
| Cool grey | Navy or white | Pale grey-blue |
| Black or dark stone | Off-white or pale grey | Soft white |
| White or ivory | Deep green or charcoal | Light neutral |
Step 3: Pick the Backsplash Tiles
Backsplash tiles link the cabinets to the countertop, so they should borrow from both. Keep patterned tiles to one wall and paint the remaining walls in a single colour taken from the pattern.
Run through these checks before you finalise your tile samples:
- Glossy tiles bounce light, which helps in kitchens with limited daylight.
- Matt tiles hide fingerprints and splashes better, and they pair well with soft paint finishes.
- White or off-white tiles keep the backsplash neutral, so the cabinet and wall paint can carry the colour.
- Bold tiles work best when the cabinets and walls stay plain.
Step 4: Match the Countertop
Countertops carry colour in their veining, flecks or grain, so study the pattern closely. Pull the dominant shade into your wall paint and a secondary shade into the cabinets. A dark granite top suits pale cabinets, while a white quartz top lets deeper cabinet colours stand out. Always view samples together, never alone.
Step 5: Finish With Wall Paint
Walls are the last and most flexible layer, so use them to fix any small mismatches. Once the hard surfaces are final, you need to find the right wall decor painting ideasfor kitchens to tie everything together.
The following ideas suit different cabinet and floor combinations:
- Paint one accent wall in a deeper shade of the cabinet colour for depth.
- Try a two-tone wall, with a darker lower half and a lighter upper half, to make a small kitchen feel taller.
- Use a soft neutral on every wall and add colour through painted open shelves.
- Paint the ceiling one shade lighter than the walls to bounce light downwards.
Choose a washable satin or low-sheen emulsion, as kitchen walls face steam, grease and frequent wiping. Pair it with a moisture-resistant primer on walls near the sink and hob.
Step 6: Apply the 60-30-10 Rule
This rule stops the palette from feeling crowded. It splits colour across the room in fixed proportions.
Here is how the split works in a typical modular kitchen:
- 60% goes to the dominant neutral, usually the walls and flooring.
- 30% goes to the cabinets, which add the main colour.
- 10% goes to accents such as handles, shelves and the backsplash.
If the kitchen feels heavy, lighten the wall paint first, as it is the quickest correction.
Step 7: Test Swatches Before You Commit
Light changes how every colour looks, so never decide from a shade card alone. Paint a large swatch on two walls and view it in the morning, afternoon and evening.
Hold floor, tile and countertop samples next to the swatch under your actual kitchen lights. Warm bulbs add yellow, while cool white bulbs push colours towards blue.
Conclusion
Matching a kitchen is easier when you work from the fixed surfaces outward. Start with the floor, choose cabinets that agree with its undertone, let the tiles and countertop borrow from both, and use paint to finish the job. Test every shade in your own light before buying, and keep the palette to a few colours in sensible proportions. Follow these steps, and the kitchen will look planned rather than assembled, and it will stay that way for many years.
